I Painted my Tile Floors!
Quarantine had some upsides to it. It finally gave me some time to get to the home projects that I’ve been putting off. My master bathroom was top on my list. Here is how I did it!
The first thing I recommend is doing your research. Pinterest and YouTube are your best friends. Google searches will take you to sponsored ads and products. Pinterest will take you to blog posts like this one and contain a lot more helpful tips. Youtube is also great! Watch and take notes on what you feel is most relevant to
Supplies needed. More links in body
- Degreaser
- Foam roller and replacement rollers
- Lint roller
- Beauty blender
- Blue painters tape
- Primer
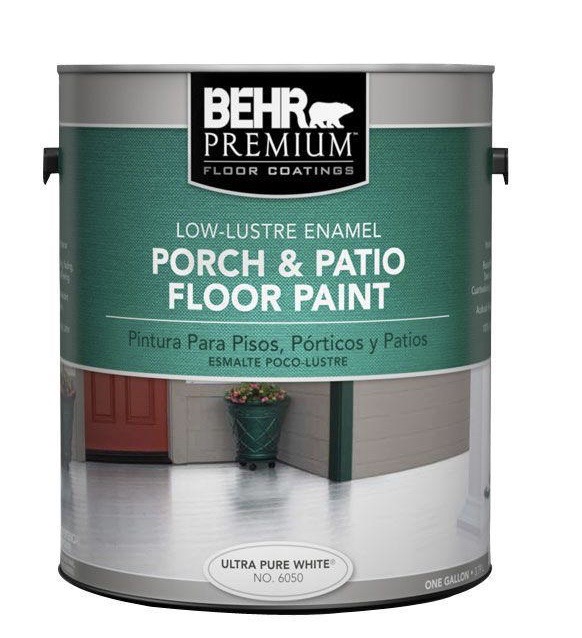
- Paint
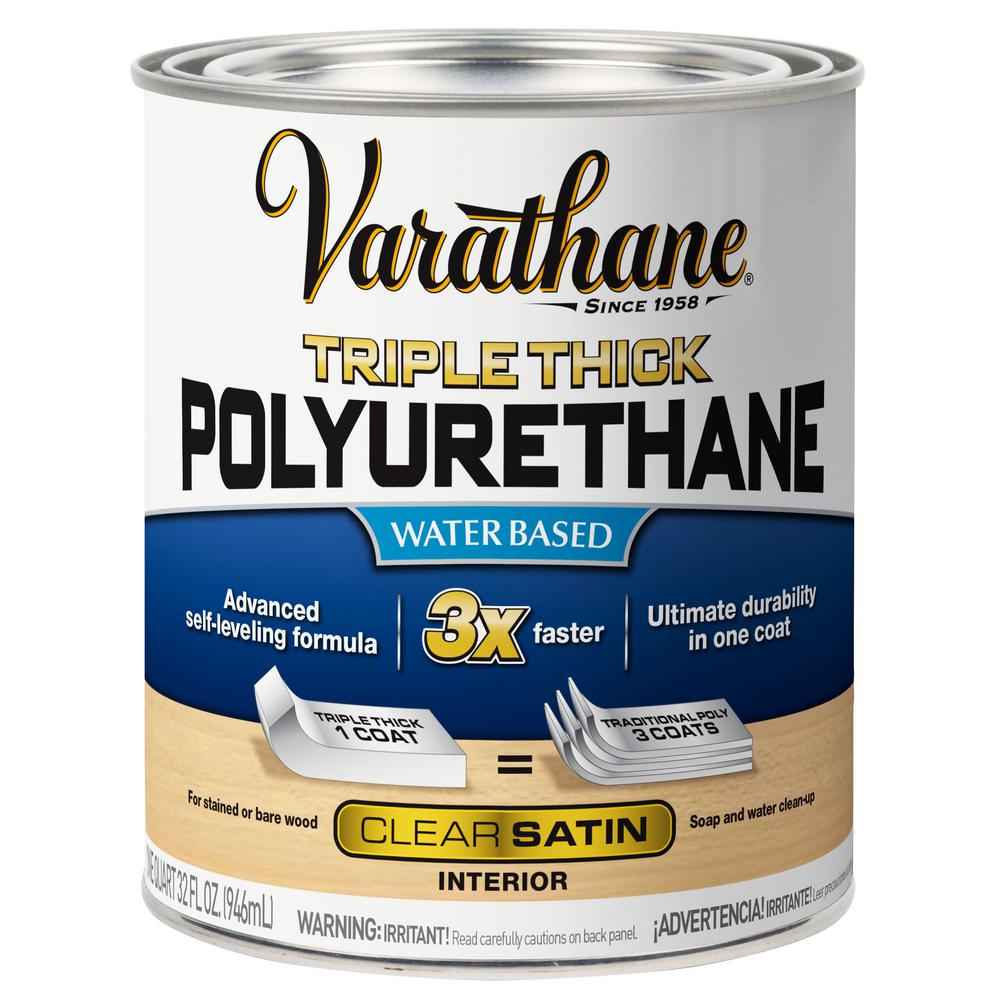
- Polyurethane
- Stencil
- Scissors
- Patience
Steps
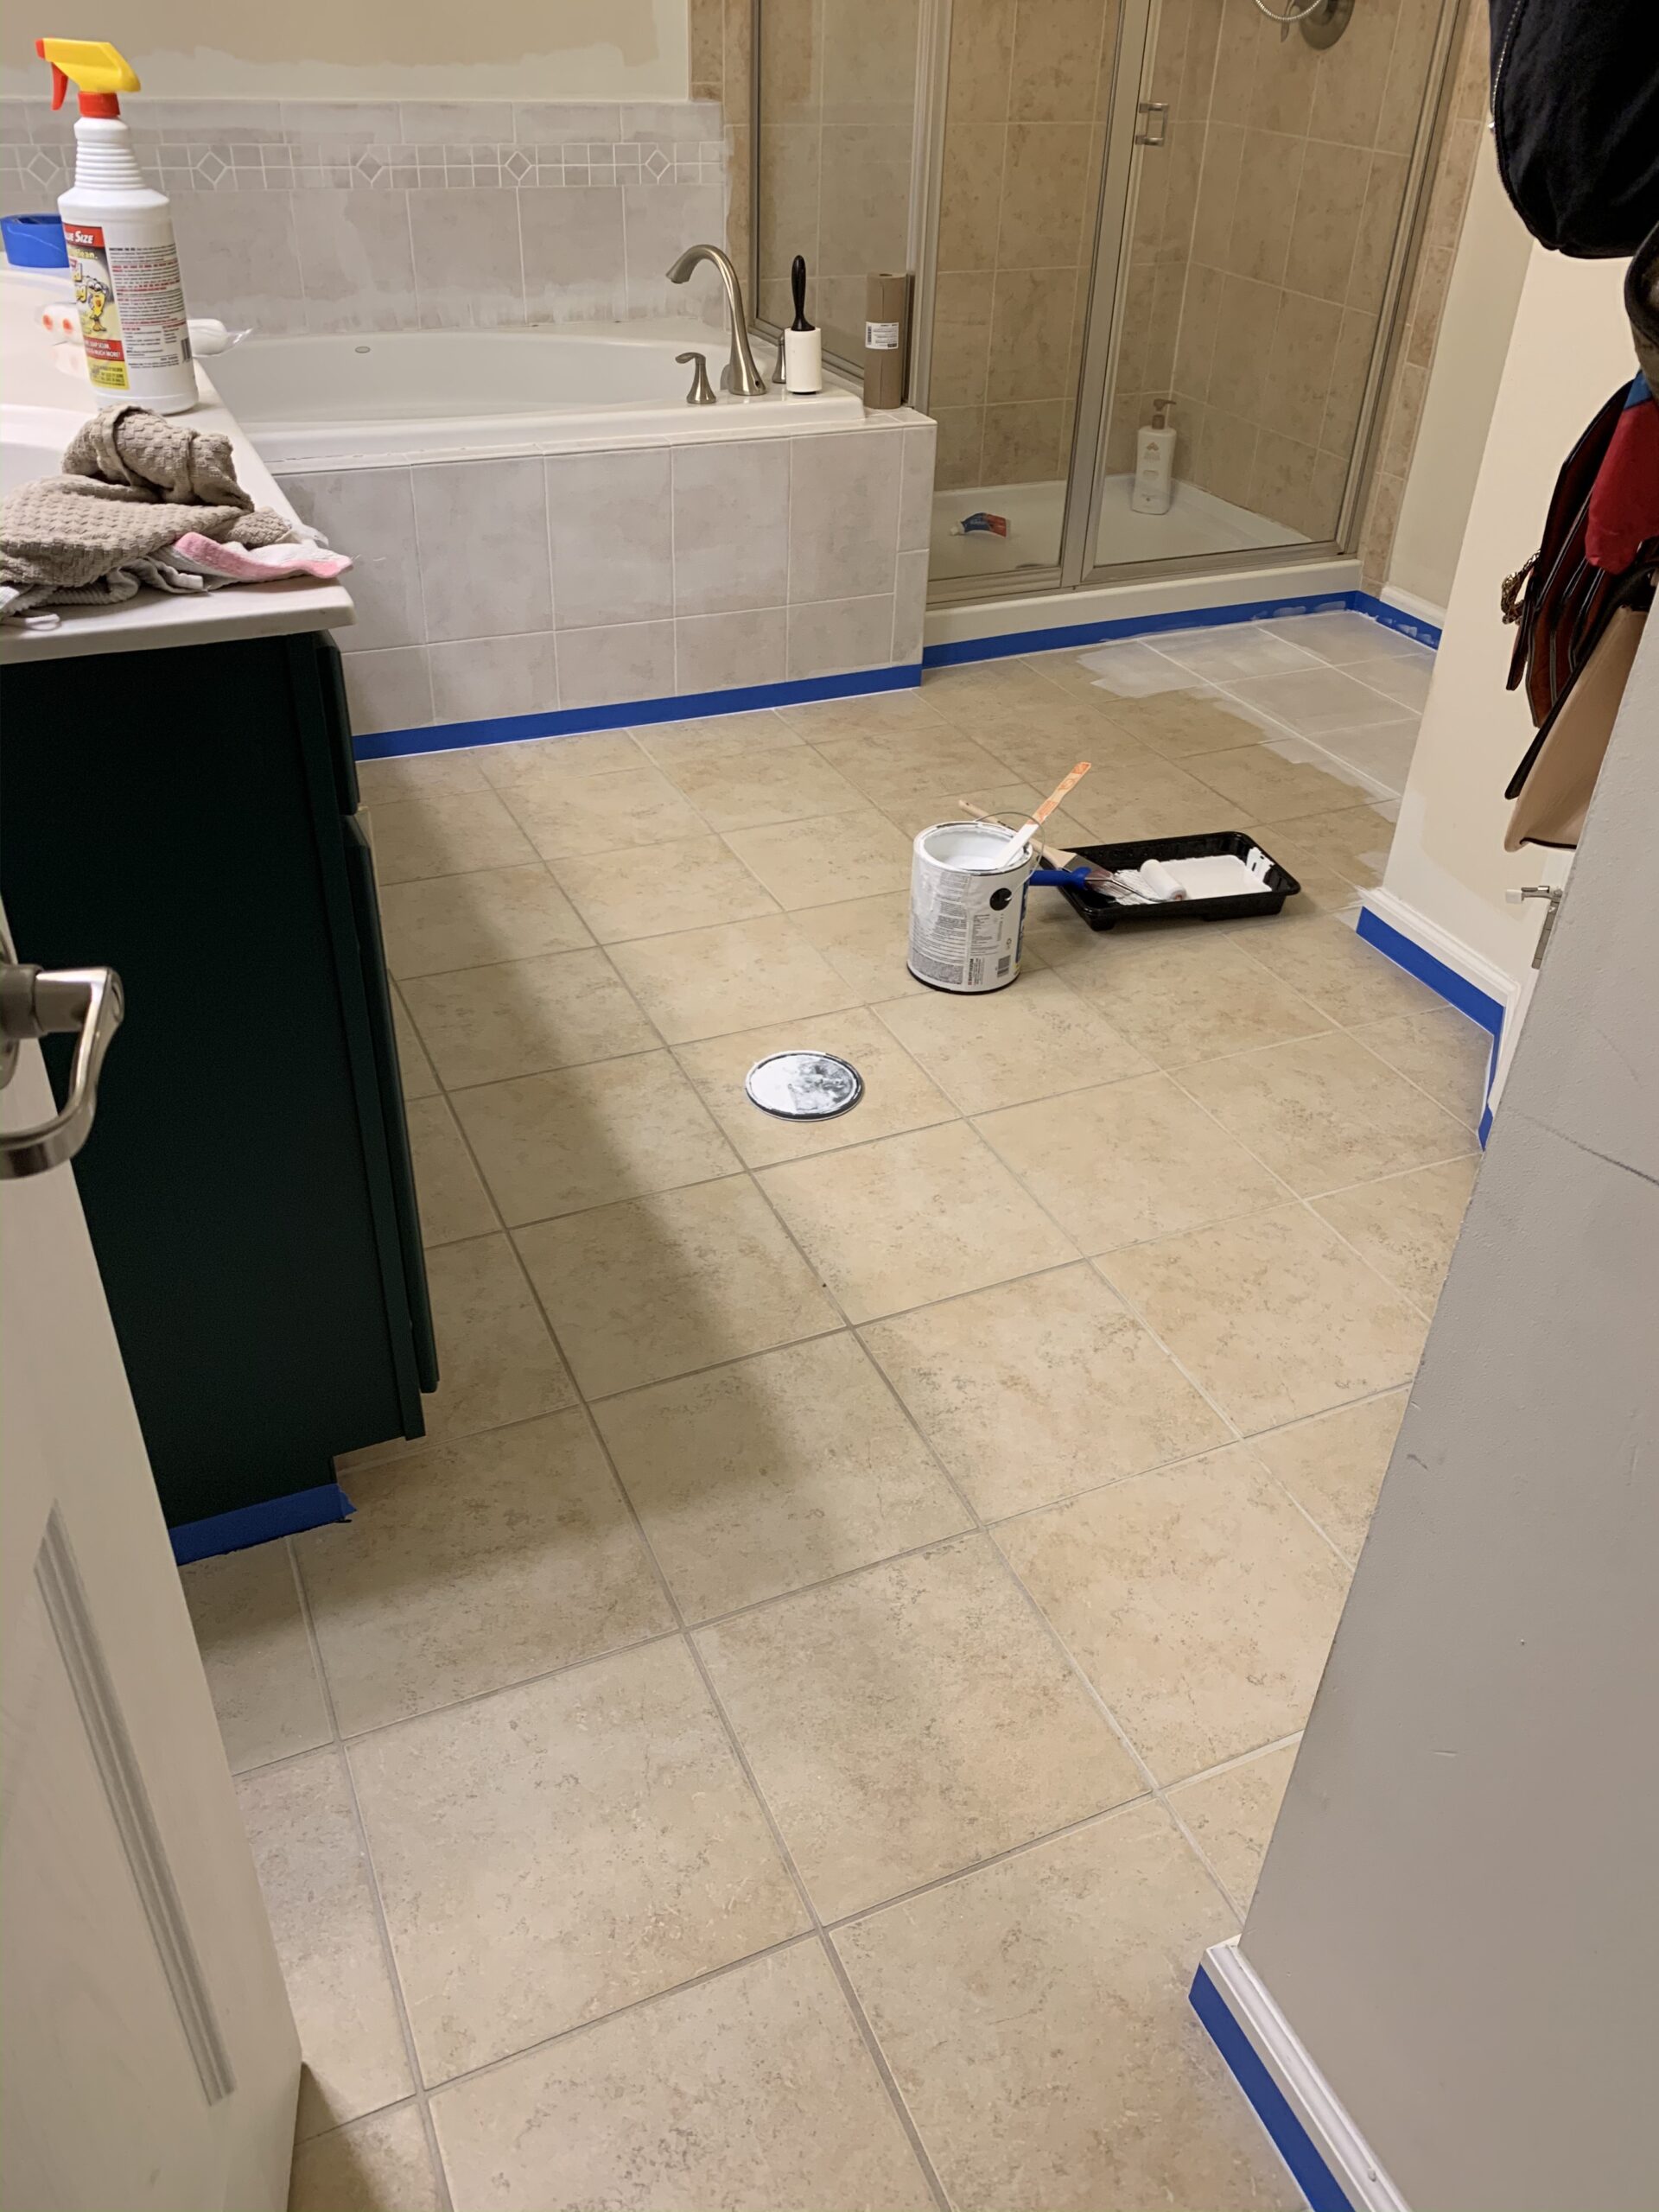
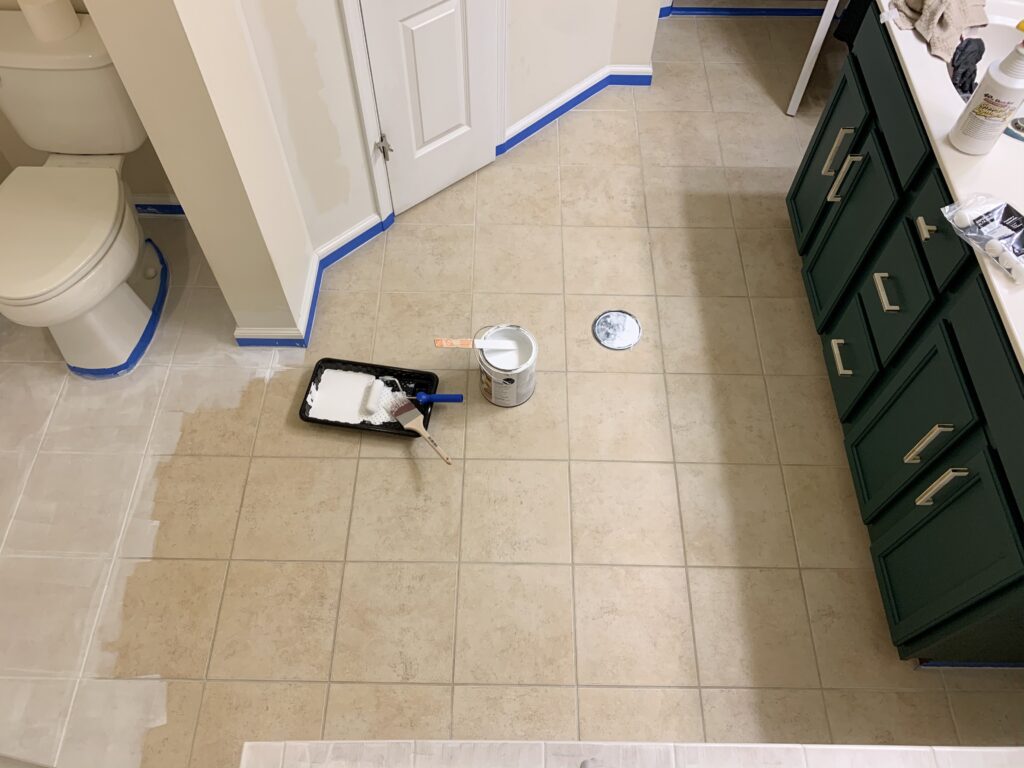
- Clean floors better than you ever have in your life. Vacuum, and clean with a degreaser. The cleaner the better. Do not assume they are clean enough.
- Tape off baseboards or walls using blue tape. At first, I taped off my baseboards then later moved the tape as I realized I should take this opportunity to apply a fresh coat to my baseboards.
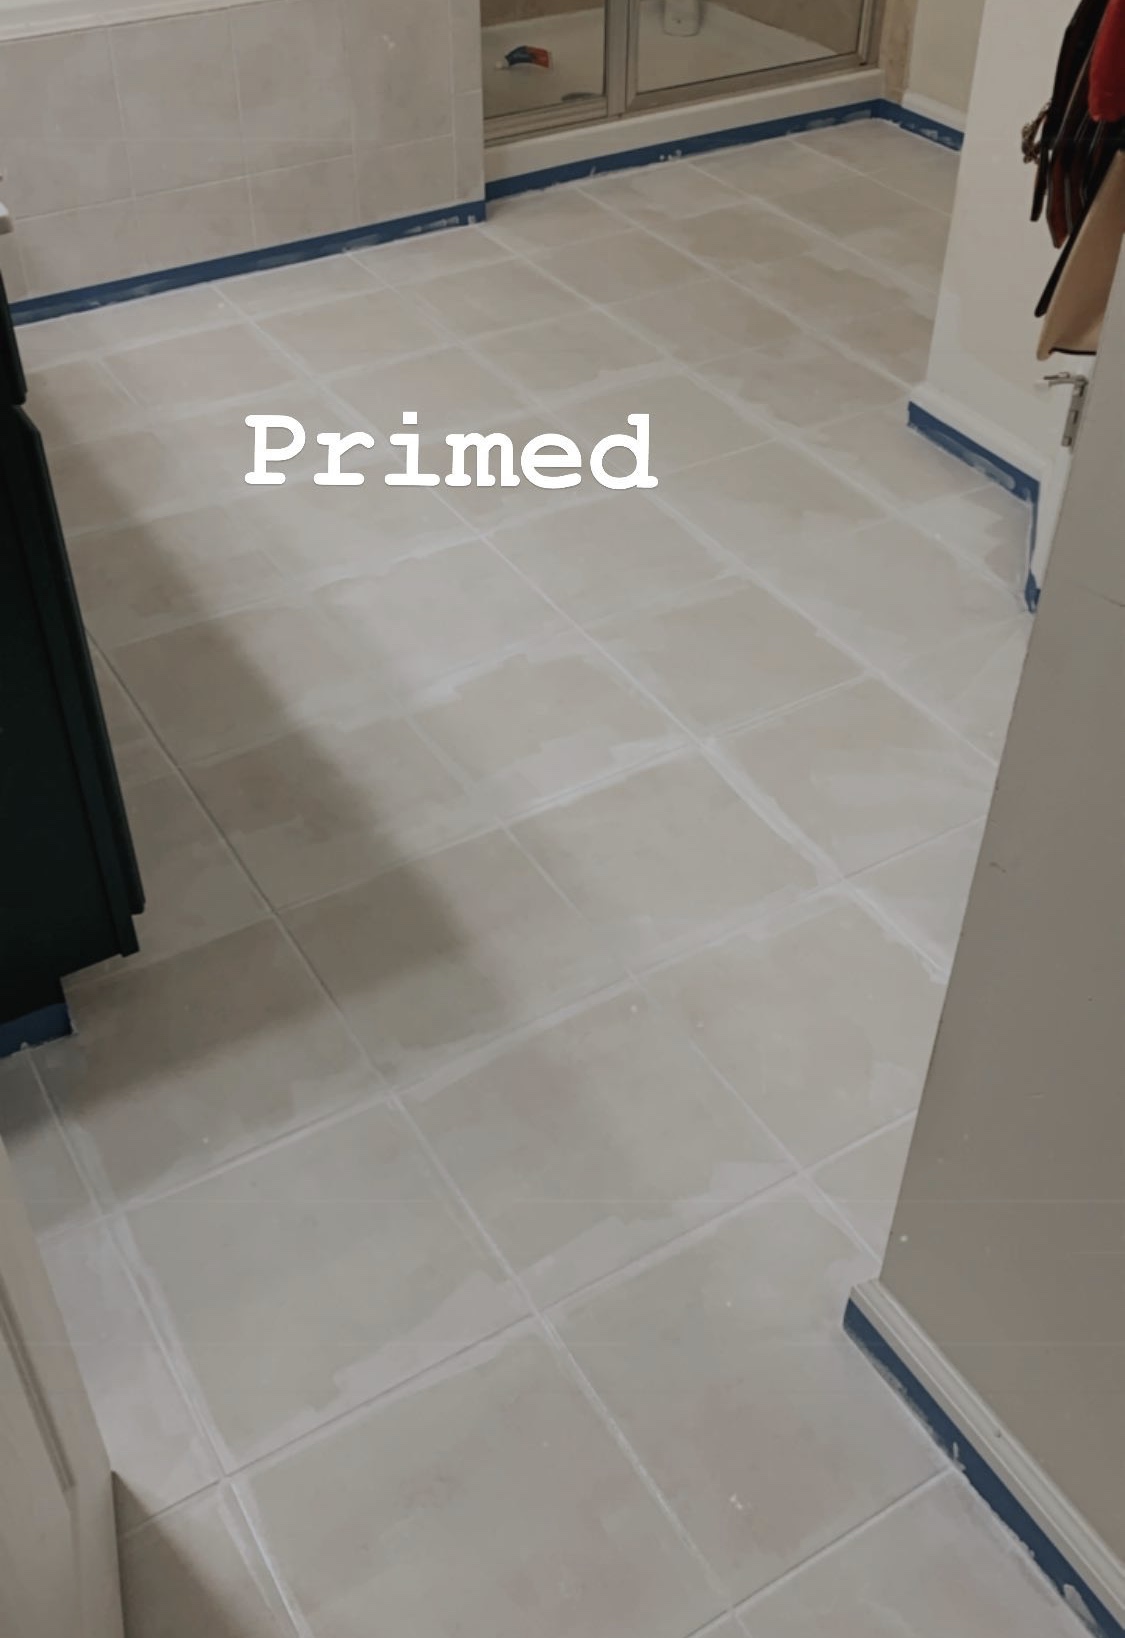
- Prime using Zinsser 1-2-3 Interior/Exterior. Start at the farthest point of the room so you can work your way out. Be sure to wear socks so oils from your feet don’t rub off on your freshly cleaned floor. I painted section by section using a lint roller before I primed. You would be surprised how much lint and dust you pick up.
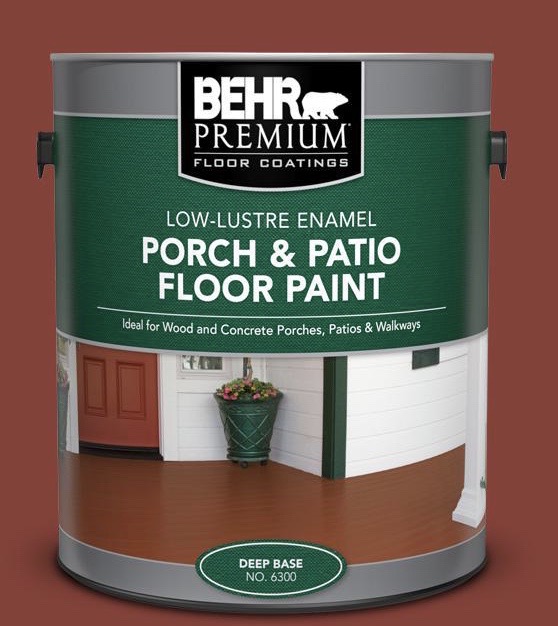
- Paint with the base color. I used BEHR Porch & Patio in white and then tinted it just a little so it wasn’t such a stark white. This took 3 coats. Allowing 1-2 hours of drying between coats. I took this same color to the baseboards as well.
- Move blue tape to protect the baseboards if you painted them.
- Stencil. This is where it gets tricky. Head to my stories on my Instagram to get more of a visual.
- Tape off the grout. I would use the same tape over and over again. This made sure I wasn’t using several rolls and also removed some of the tackiness which made it less likely to pull up the base coat.
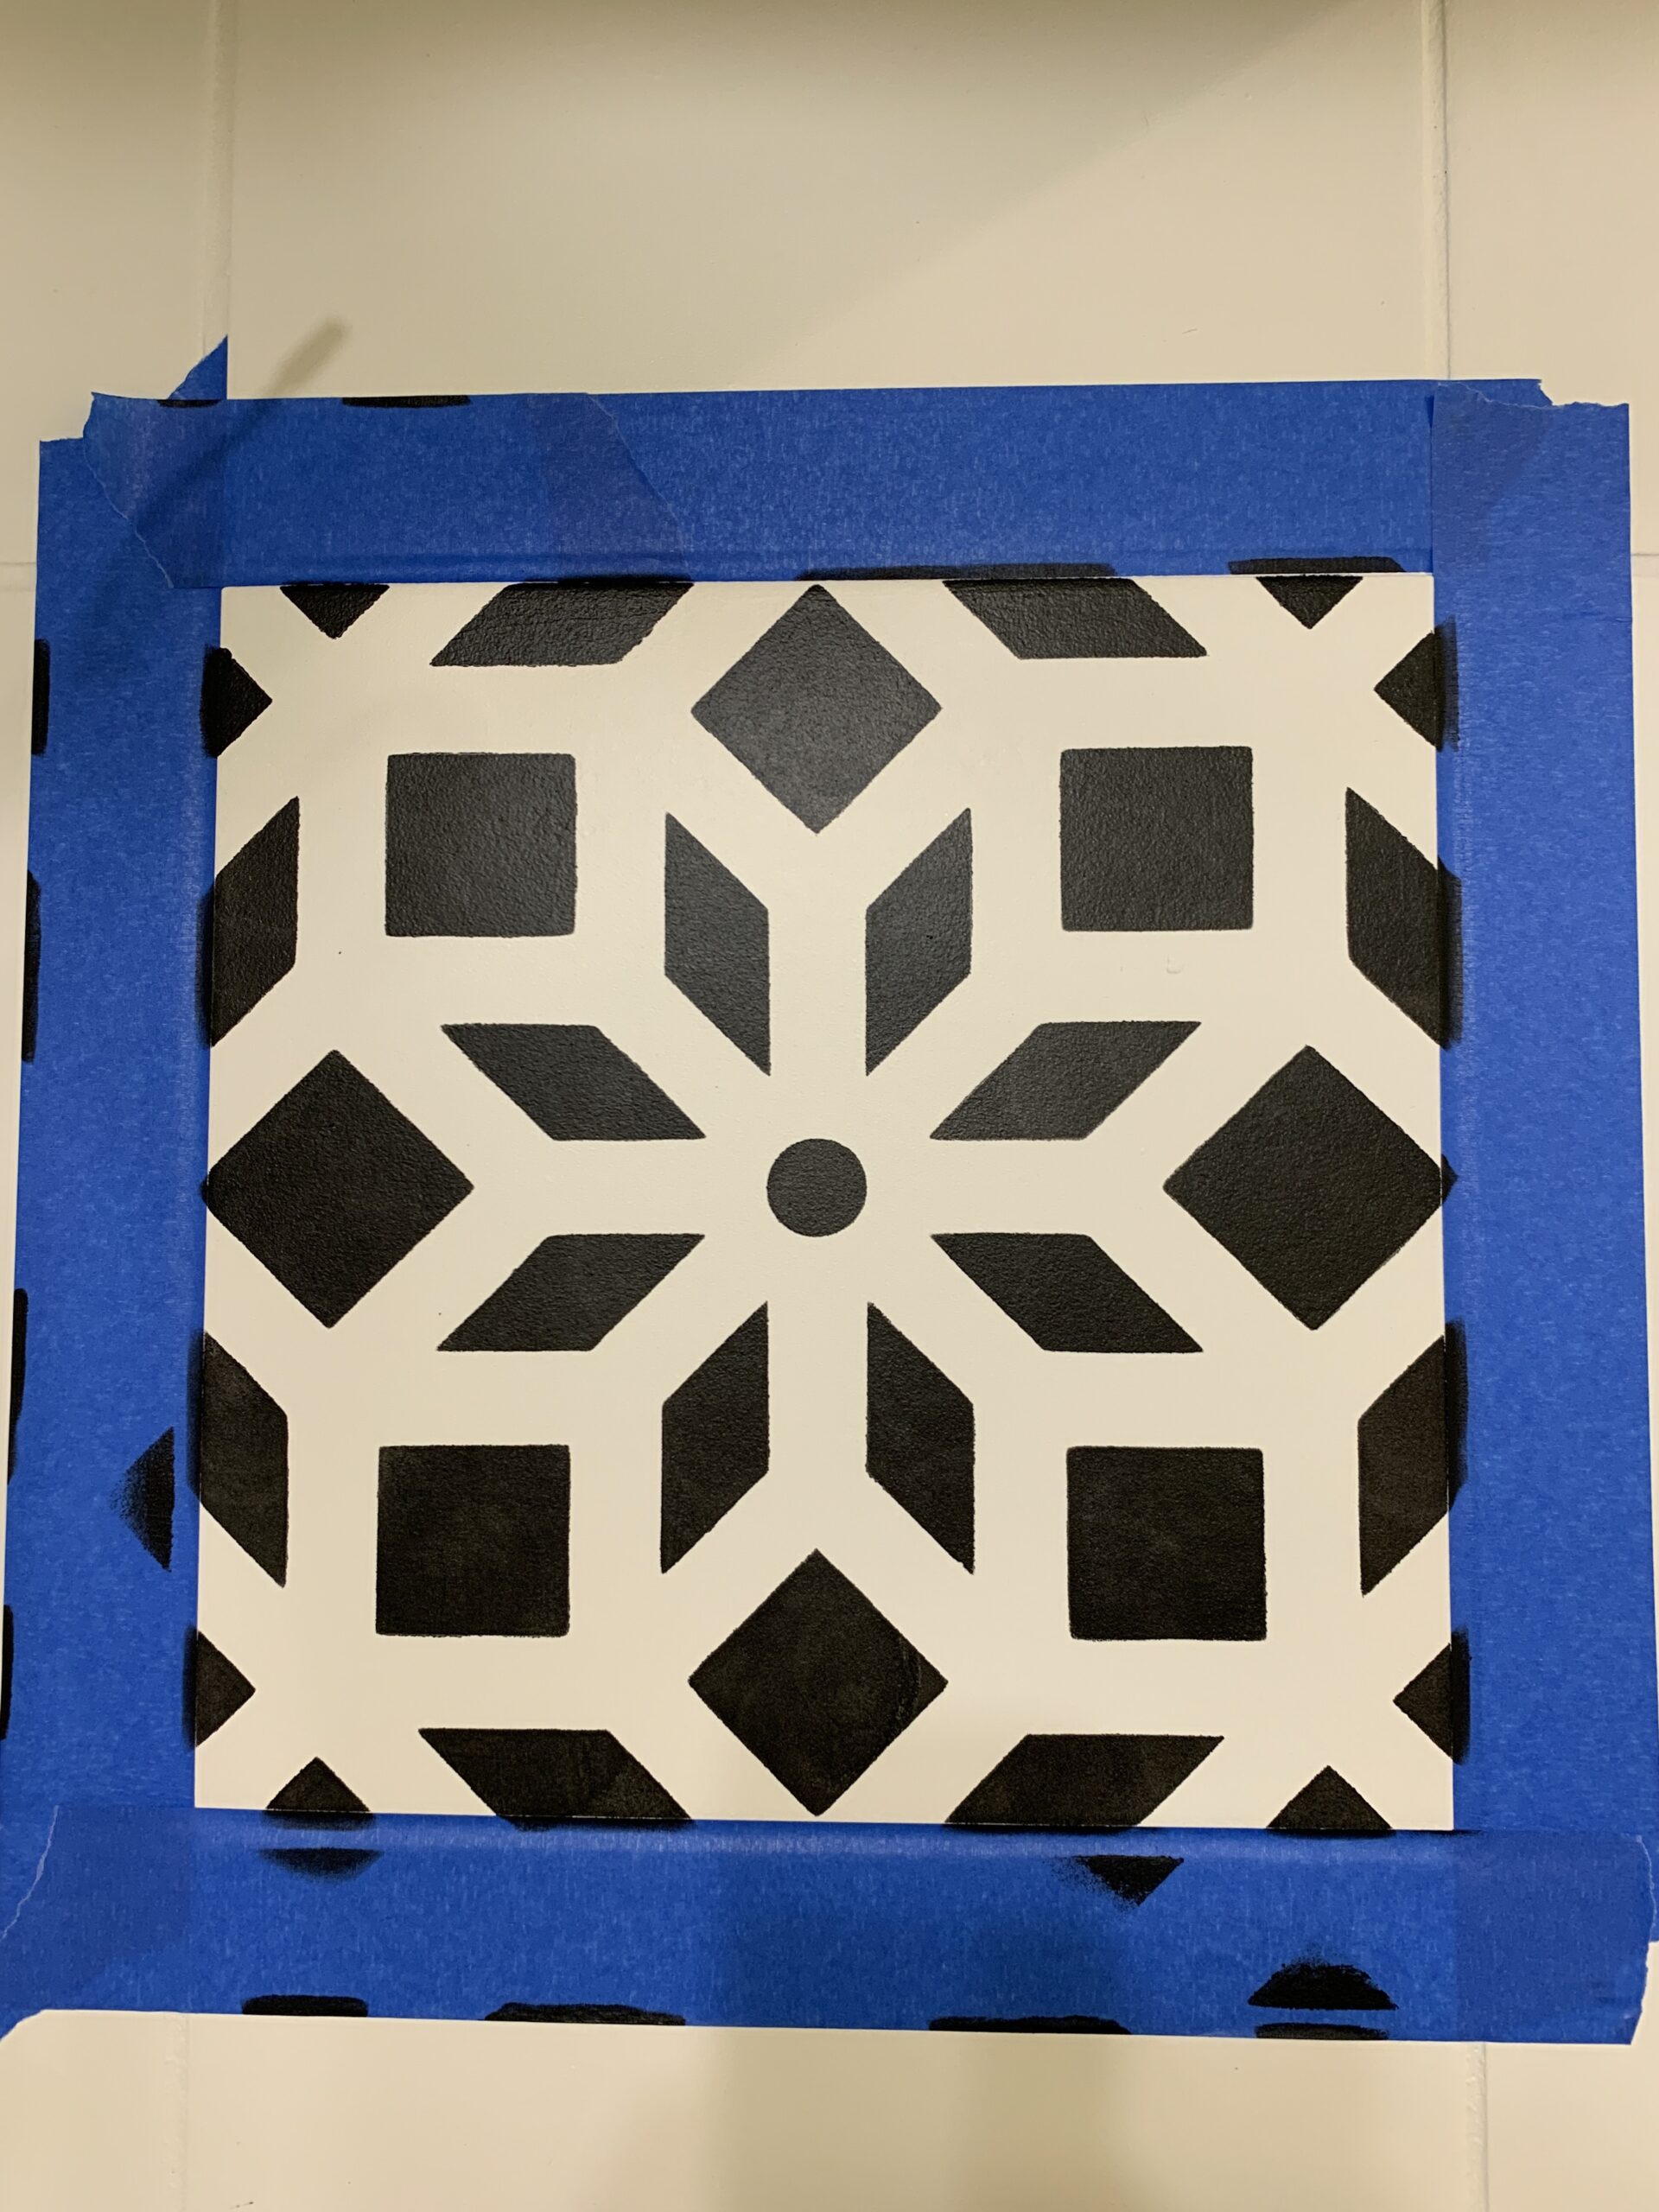
- Tape down your stencil
- At first, I used the foam roller and quickly learned that this was not going to work without causing bleeding. Blotting was a better method and a Beauty blender worked great! Wet the beauty blender and squeeze out as much water as possible (just like you would use for makeup). Dab in paint then using a blank piece of paper, blot to remove excess paint. Tape down your stencil and blot. Less paint and less pressure will decrease your chance of bleeding. I used BEHR Porch & Patio Deep Base in color limousine leather.
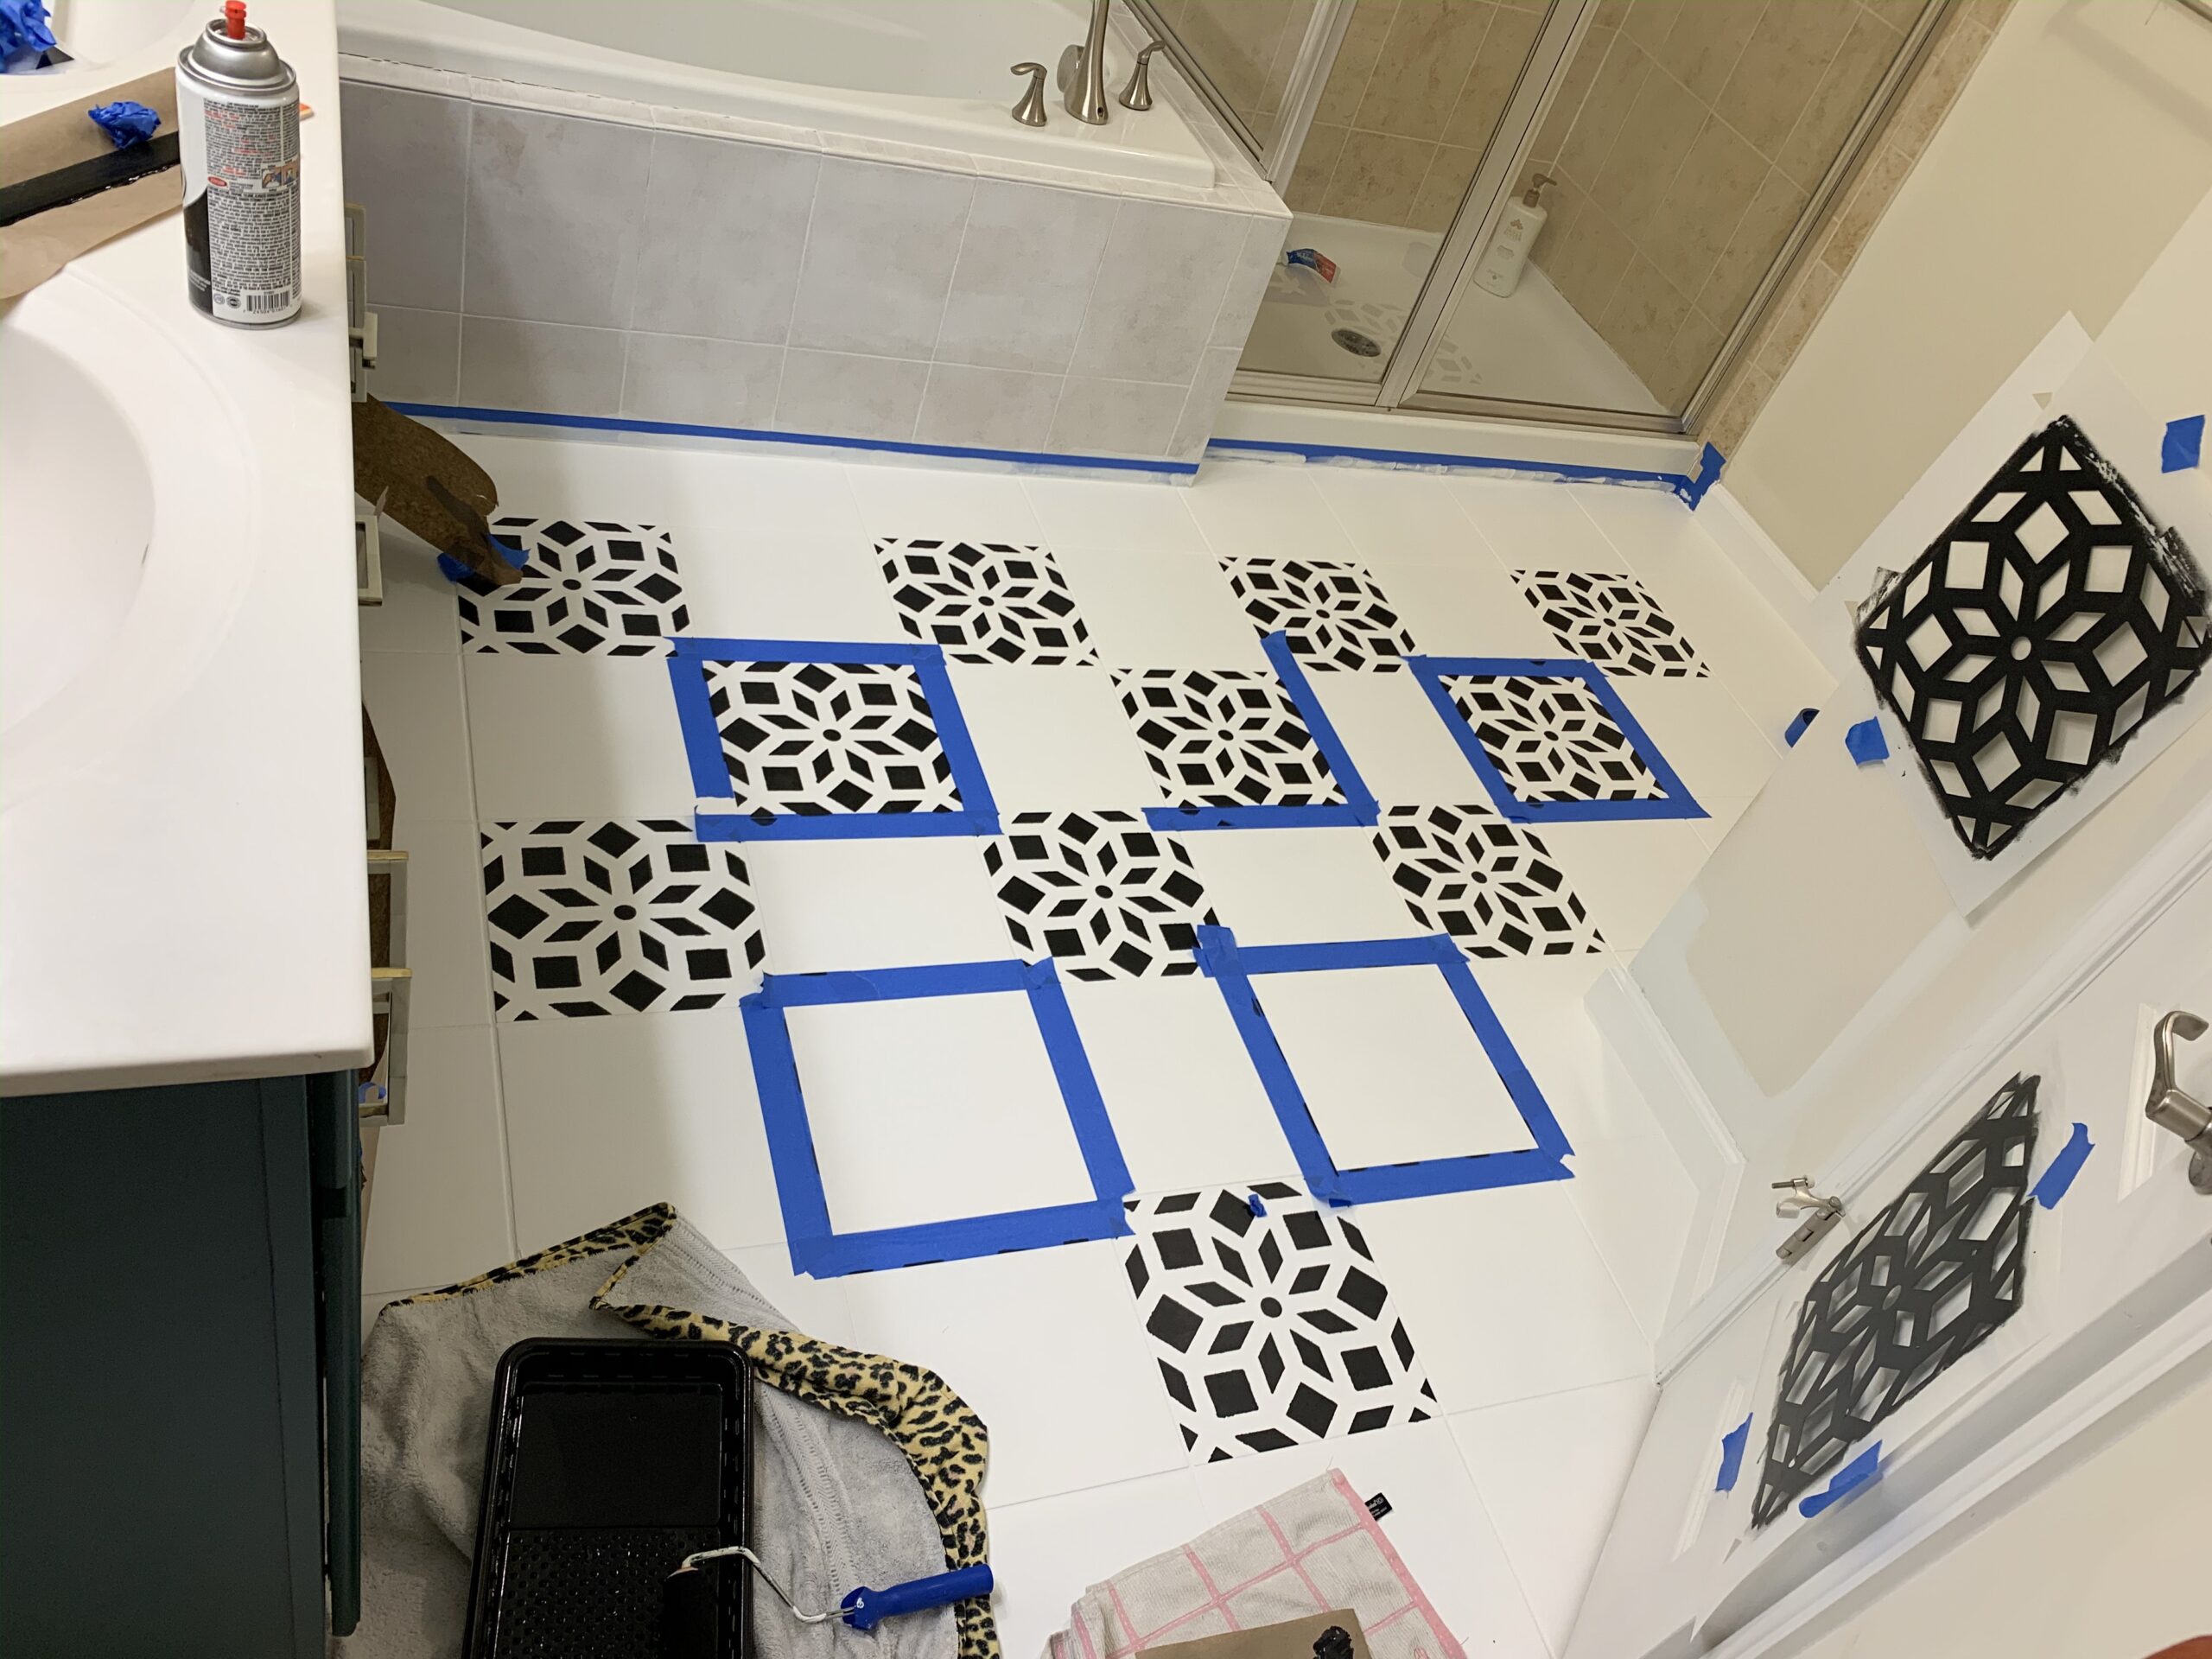
- I purchased 4 stencils from Etsy. That way I could do a checkerboard pattern, allowing one tile to dry while moving on to the next, leaving the stencil in place to dry. I would do this 2 at a time, rotating all 4, taping them to the wall to allow drying time so if any paint leaked onto the back of the stencil, it wouldn’t transfer to your new tile.
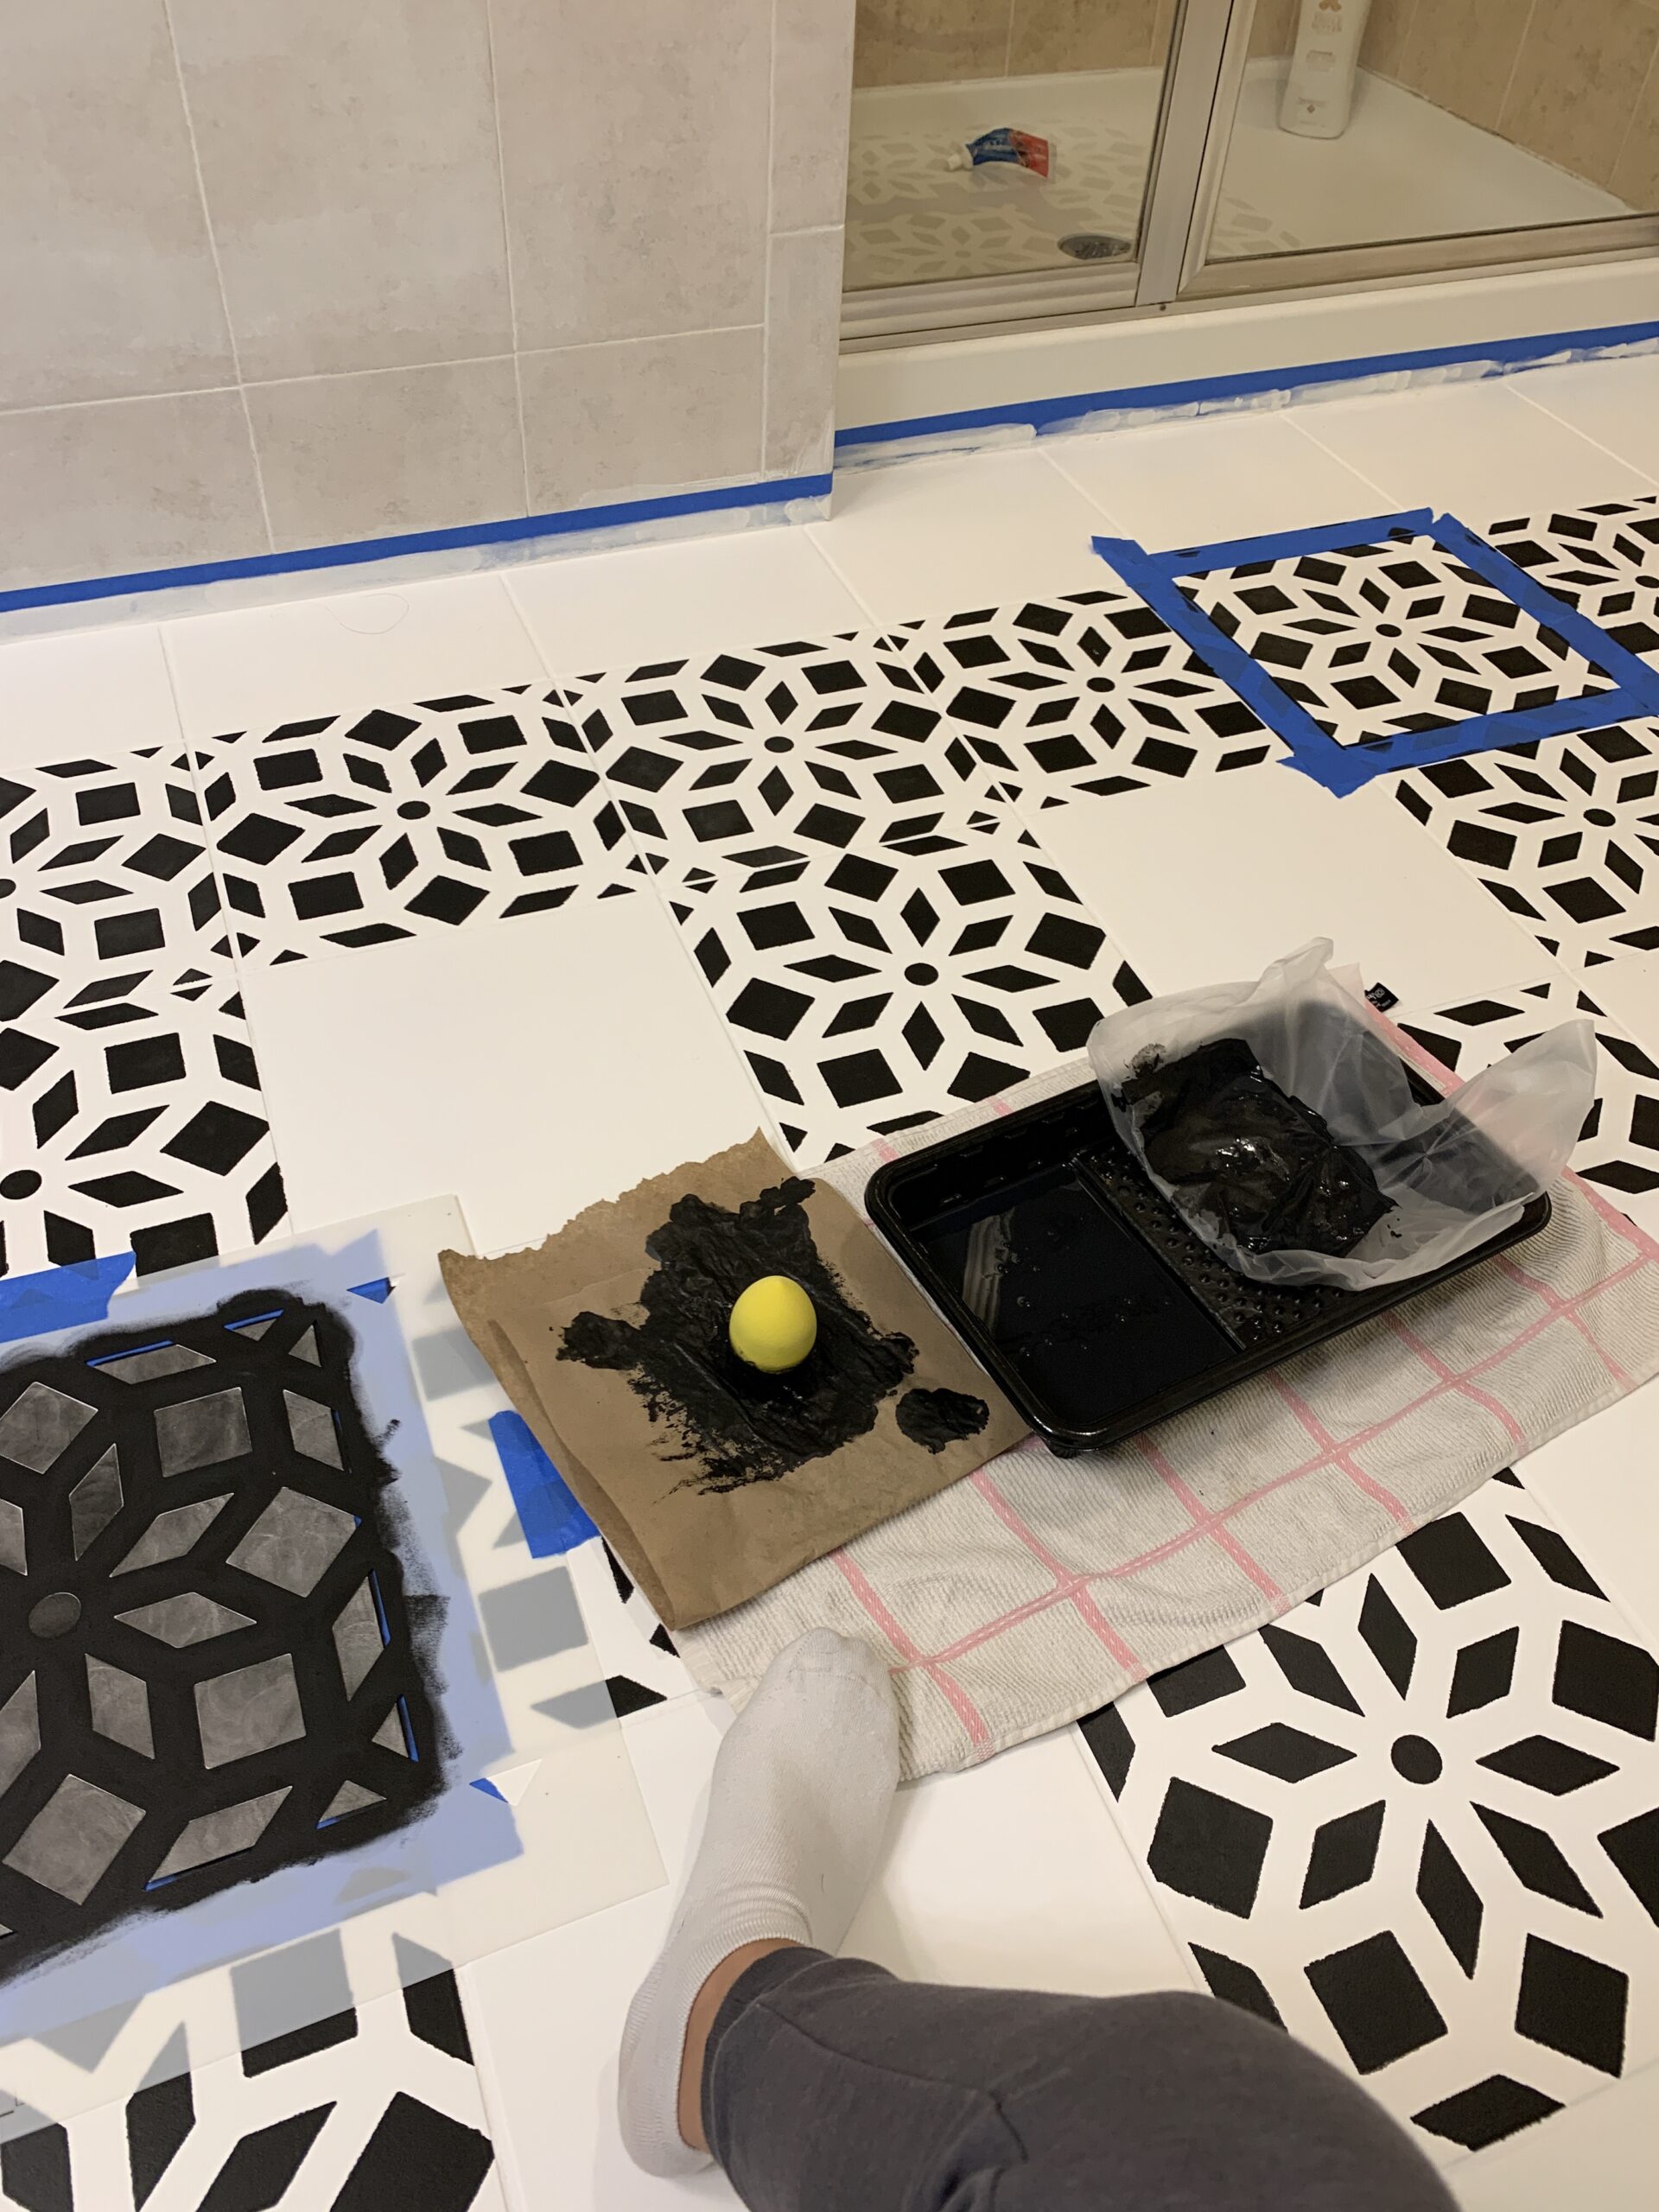 Go back and apply a second coat of black paint. I wanted my black to be deep in color so sometimes a third coat was needed. The paint dries surprisingly fast, less than 5 mins so walking with socks made it easy to move around from tile to tile.
 - Start with the full-size tiles first. Once those are complete, analyze your floor and slowly start cutting down your stencils to fit into corners. This YouTube video helped but I only bent my stencils a bit. I strategically used all 4 stencils and cut them down slowly. This worked great for me. For the hard to reach places and the smaller details, I ended up cutting the tip of the beauty blender and using that.
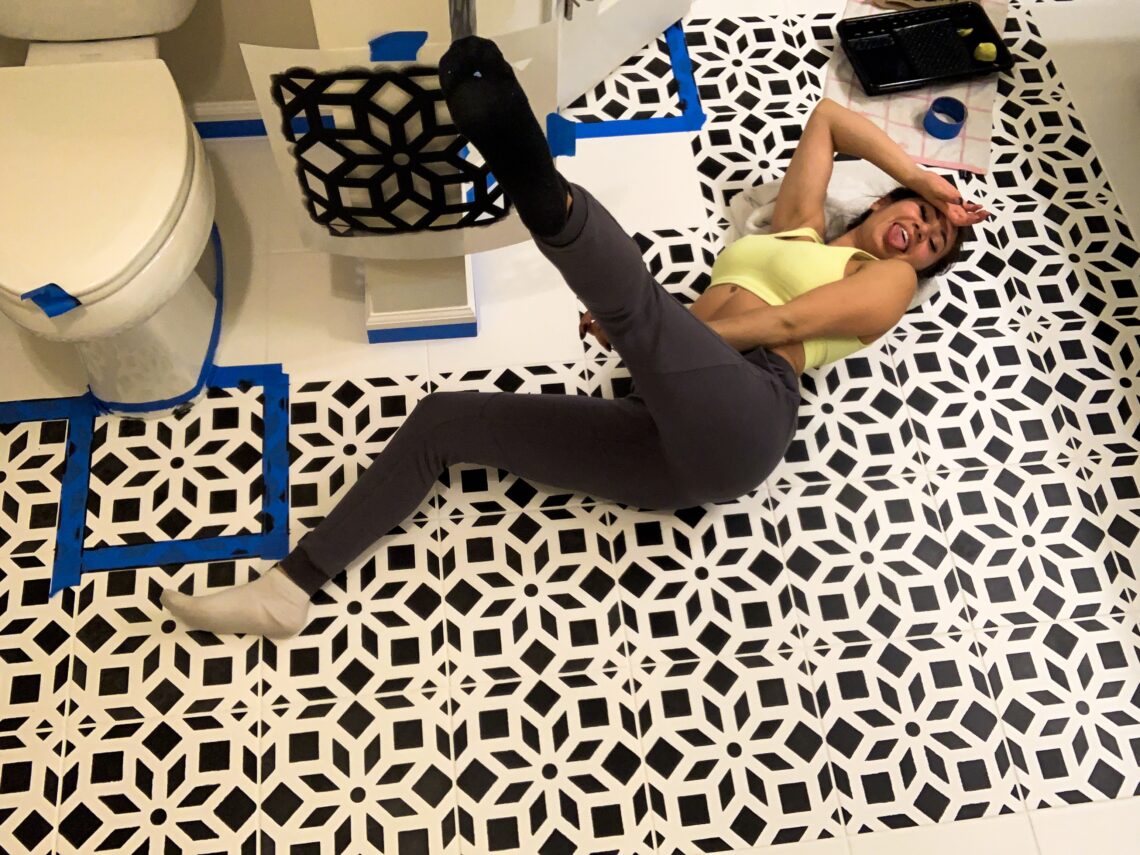
- Blotting the stencils took me approx 30 hrs over the course of 5 days! When I got frustrated I would stop for the day. Better to work slow and clean than to rush it and make a mistake.
- Fix any mistakes using a small paintbrush. I did not do this. I definitely have some bleeding and areas where the black isn’t fully colored. But honestly, you can’t even tell when you are standing. To me, it gives it character! If you are super anal this might not be the thing for you.
- After a full day of drying, apply Polyurethane. I still always used a lint roller as I worked throughout this project. Keeping your floors clean of dust and debris is key! Once polyurethane is applied, it’s locked in. Apply 2 thick coats with a foam roller allowing 4 hours to dry between coats.
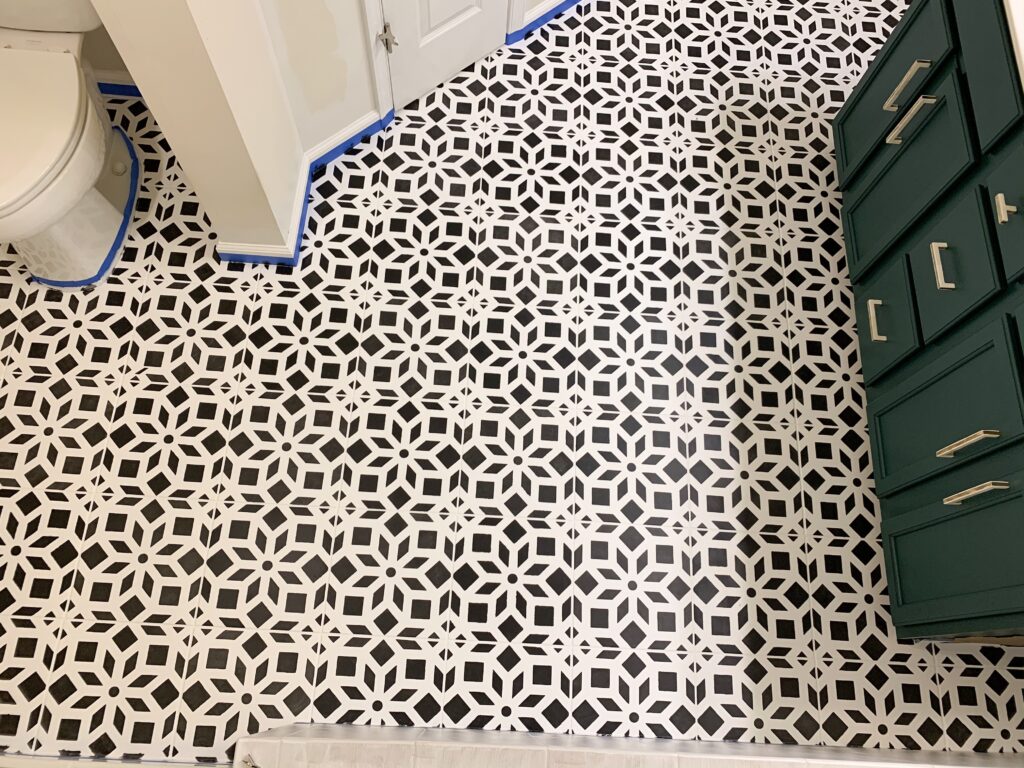
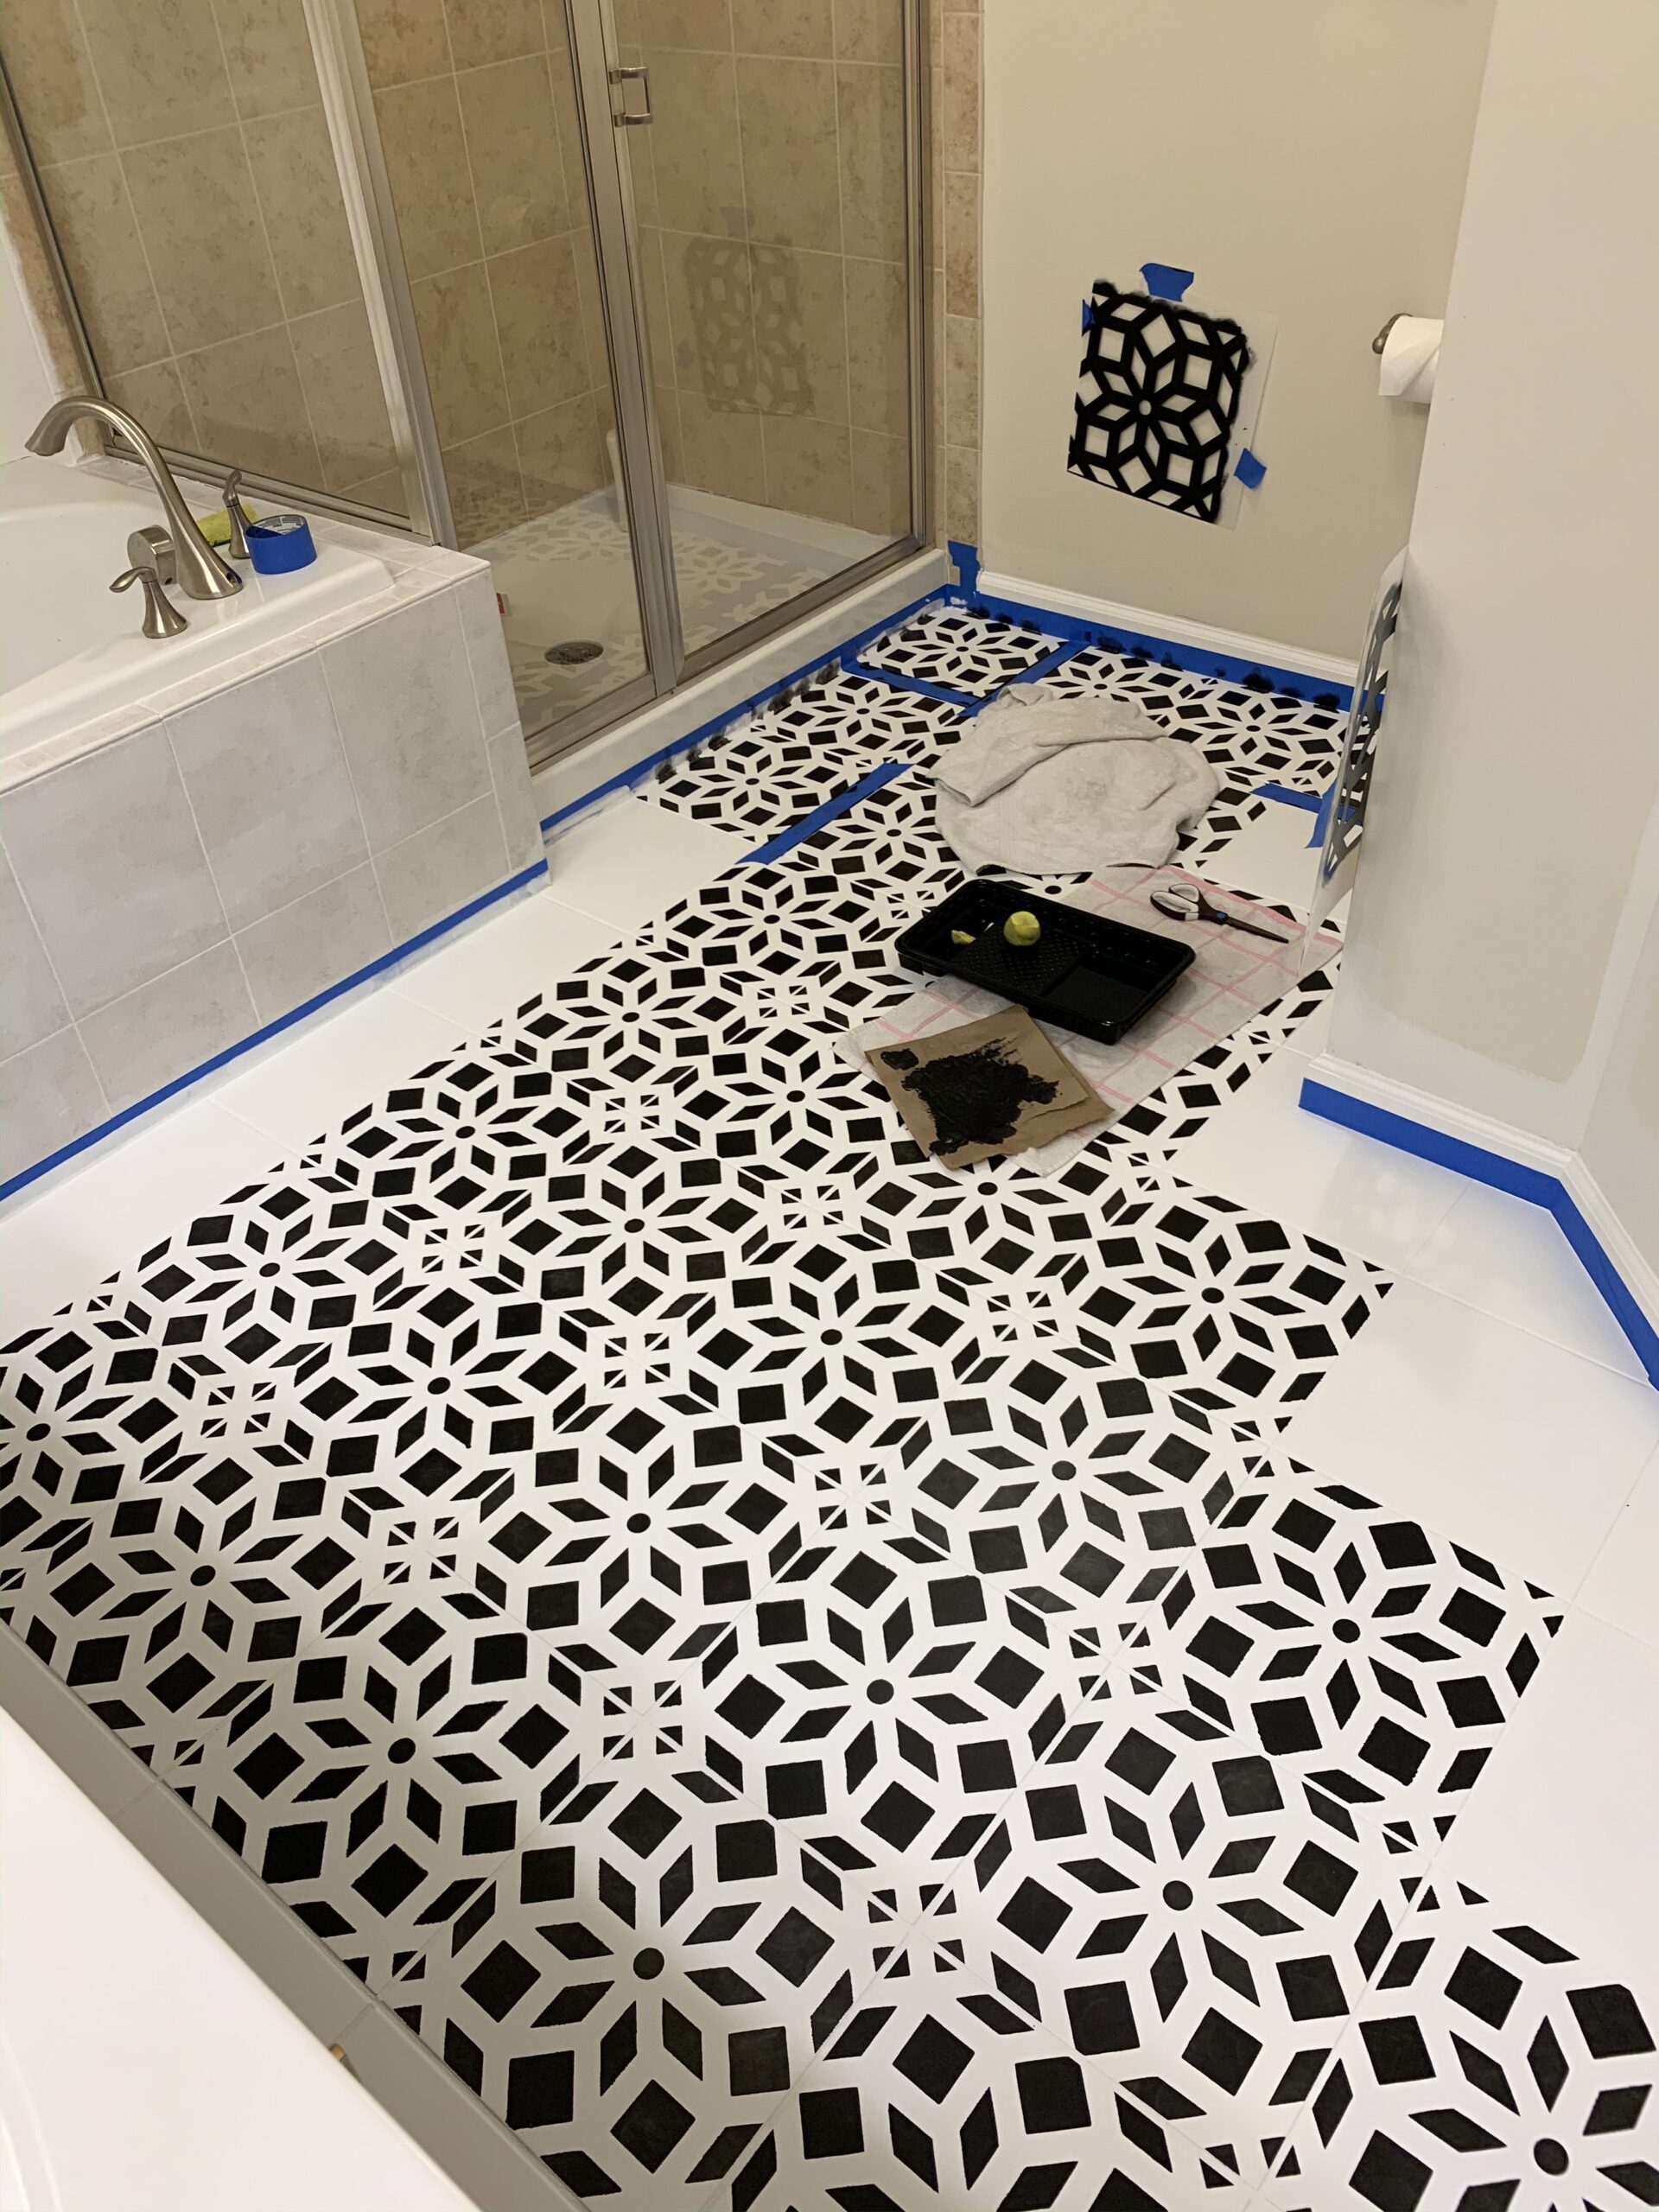
You are done! I waited a full day to dry before walking and a full week before allowing water to touch. We shall see how they hold up but they feel great! All the blogs I have read say their floors have held up for years with no problem, fingers crossed! I don’t recommend using any harsh cleaners after this. Swiffers work great!
Good luck! Let me know your thoughts!